Last spring, I built a wicking garden bed to see if it did better than growing crops the usual ways. It seemed foolproof, like it would have everything plants needed for trouble-free gardening: soil, nutrients and a reservoir of water.
Having tried it, I can say that the results were mixed but promising. Some crops thrived; others did not. Despite my mixed results, the wicking garden bed offered meaningful time savings, and for that reason alone, I shall try it again in 2014 — but with a modification.
Round 1
To recap, a wicking garden bed is a watertight basin. It could be a trough, a plastic swimming pool, a raised bed lined with a tarp — whatever holds water without leaking. On the bottom of the basin, you pour a layer of gravel, crushed pottery or tumbled glass — whatever has bulk and won't displace water. Over that goes a layer of soil where the plants grow. You separate the gravel from the soil with a cloth, so they don't mix.
You cut a small hole at the side; this is where your water goes in. It should be positioned no higher than the height of the gravel, to prevent over-watering. Capillary action draws water up through the cloth and into the soil.
I'm gambling that my experiment will ultimately save time and resources.
For my first round, I tried a variety of plants: carrot seeds, cilantro seeds, a chamomile plant and a Texas Wild tomato plant. At the end of the day, the carrot seed never sprouted. The cilantro sprouted but withered. The chamomile plant went from robust green to dead and brown a few weeks later.
However, the Texas Wild tomato thrived.
The reason for the failures seemed to be that the water was not wicking high enough into the top layer of soil to reach the seeds or the shallow roots of the chamomile plant. The tomato, though, had roots that reached down deep into the bed's soil and were able to tap into the reservoir.
The plans I followed called for layers of rock and soil, separated by a cloth. But I decided that the bed might benefit from an extension of soil into the bottom layer of rock. Perhaps a set of soil wicks would allow the capillary action to draw the water into the upper levels of the bed more easily.
Having already encountered drawbacks with my raised garden beds, I had no trouble converting a few to wicking garden beds to experiment with my soil wick theory.
Round 2
I excavated an established raised bed, then dug down three more inches below ground level. I lined the dirt bottom and wood frame sides of the bed with a watertight tarp to act as a reservoir — think of it as a flimsy, rectangular bath tub. The liner was held in place on the sides of the raised bed frame by strips of 1-by-2 lumber, screwed into the wood frame.
My vision: effortless harvests from garden beds that need to be watered less than three times a month.
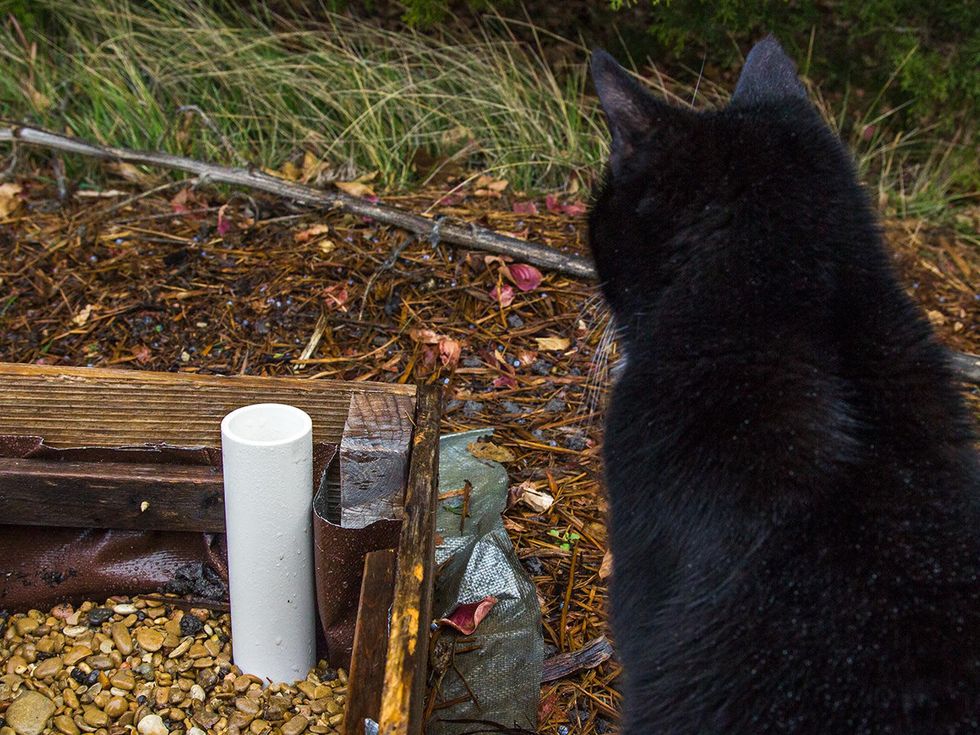
I placed three inches of pea gravel into the bottom, bringing the top of the rock to ground level. At the top of the gravel layer, I punched a small hole through the tarp and pushed a pipe through the hole to prevent overfilling; the water level will never be more than three inches deep. To feed water directly into the reservoir, I placed a pipe vertically in the corner of the bed, reaching from the top of the gravel up to the height of the bed's frame, about six inches.
Then it was time to add the soil wicks. I took five 5-gallon plastic plant containers and cut off the tops so that they were only three inches high. I plunged these shortened containers into the rock so that their base hit the tarp liner underneath, then filled them with soil. That gave me five columns of soil, spaced out evenly in the 3-inch-deep rock.
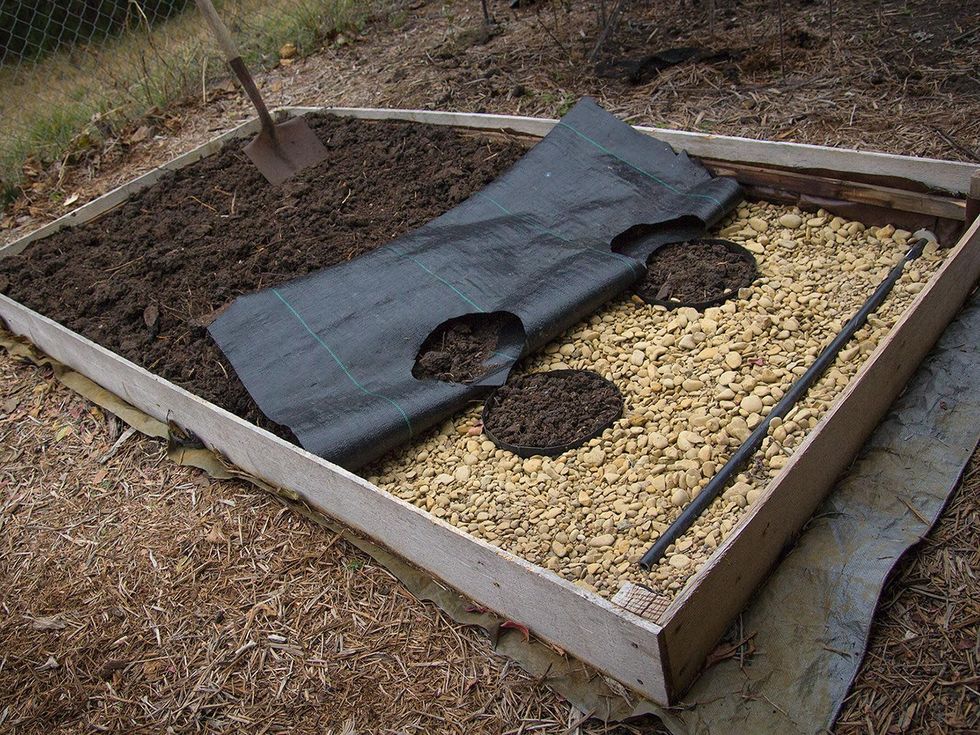
Next, I laid out a 4-by-8-foot sheet of landscaping cloth over the gravel and wicks. I cut out holes over each wick so that they showed through the cloth, while the gravel remained covered.
Lastly, I filled the wooden frame all the way to the top with soil. This top layer of soil connects with the soil columns that reach down into the gravel. And yet from the top, it looks like an ordinary raised bed, with no sign of the water basin beneath.
These wicking beds cost more to construct, and they take more time. Converting each raised bed took about three hours. Compare that to two hours to build a wicking bed from scratch and 30 minutes to build a basic raised bed.
I'm gambling that my experiment will ultimately save time and resources. My vision: effortless harvests from garden beds that need to be watered less than three times a month.
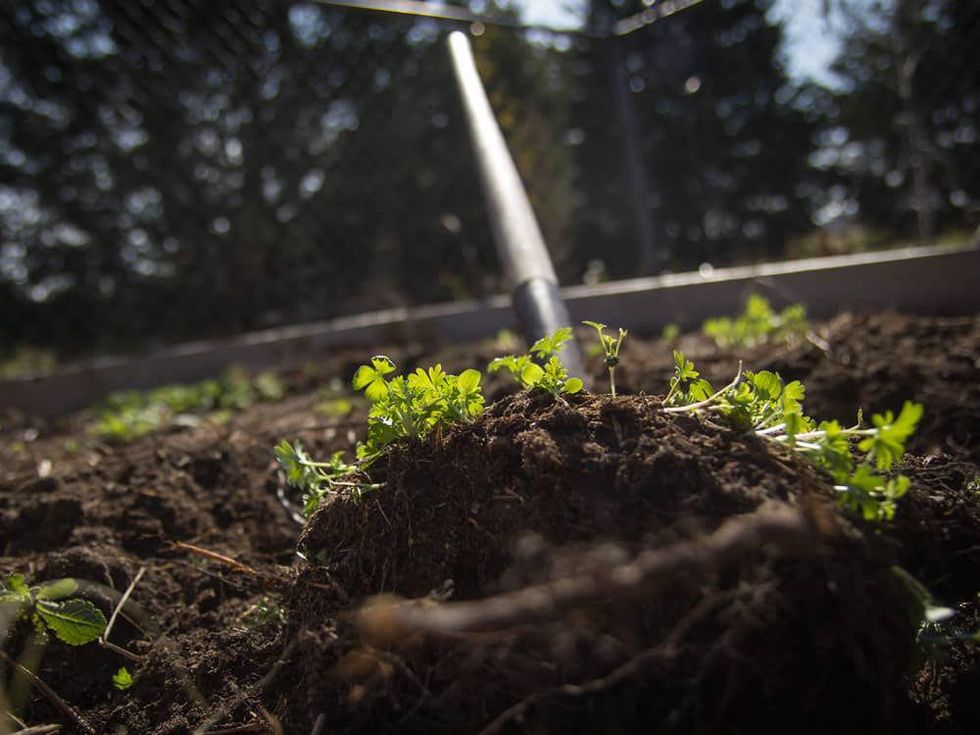
Seedlings growing in a shovel full of soil from Marshall Hinsley's raised garden bed.
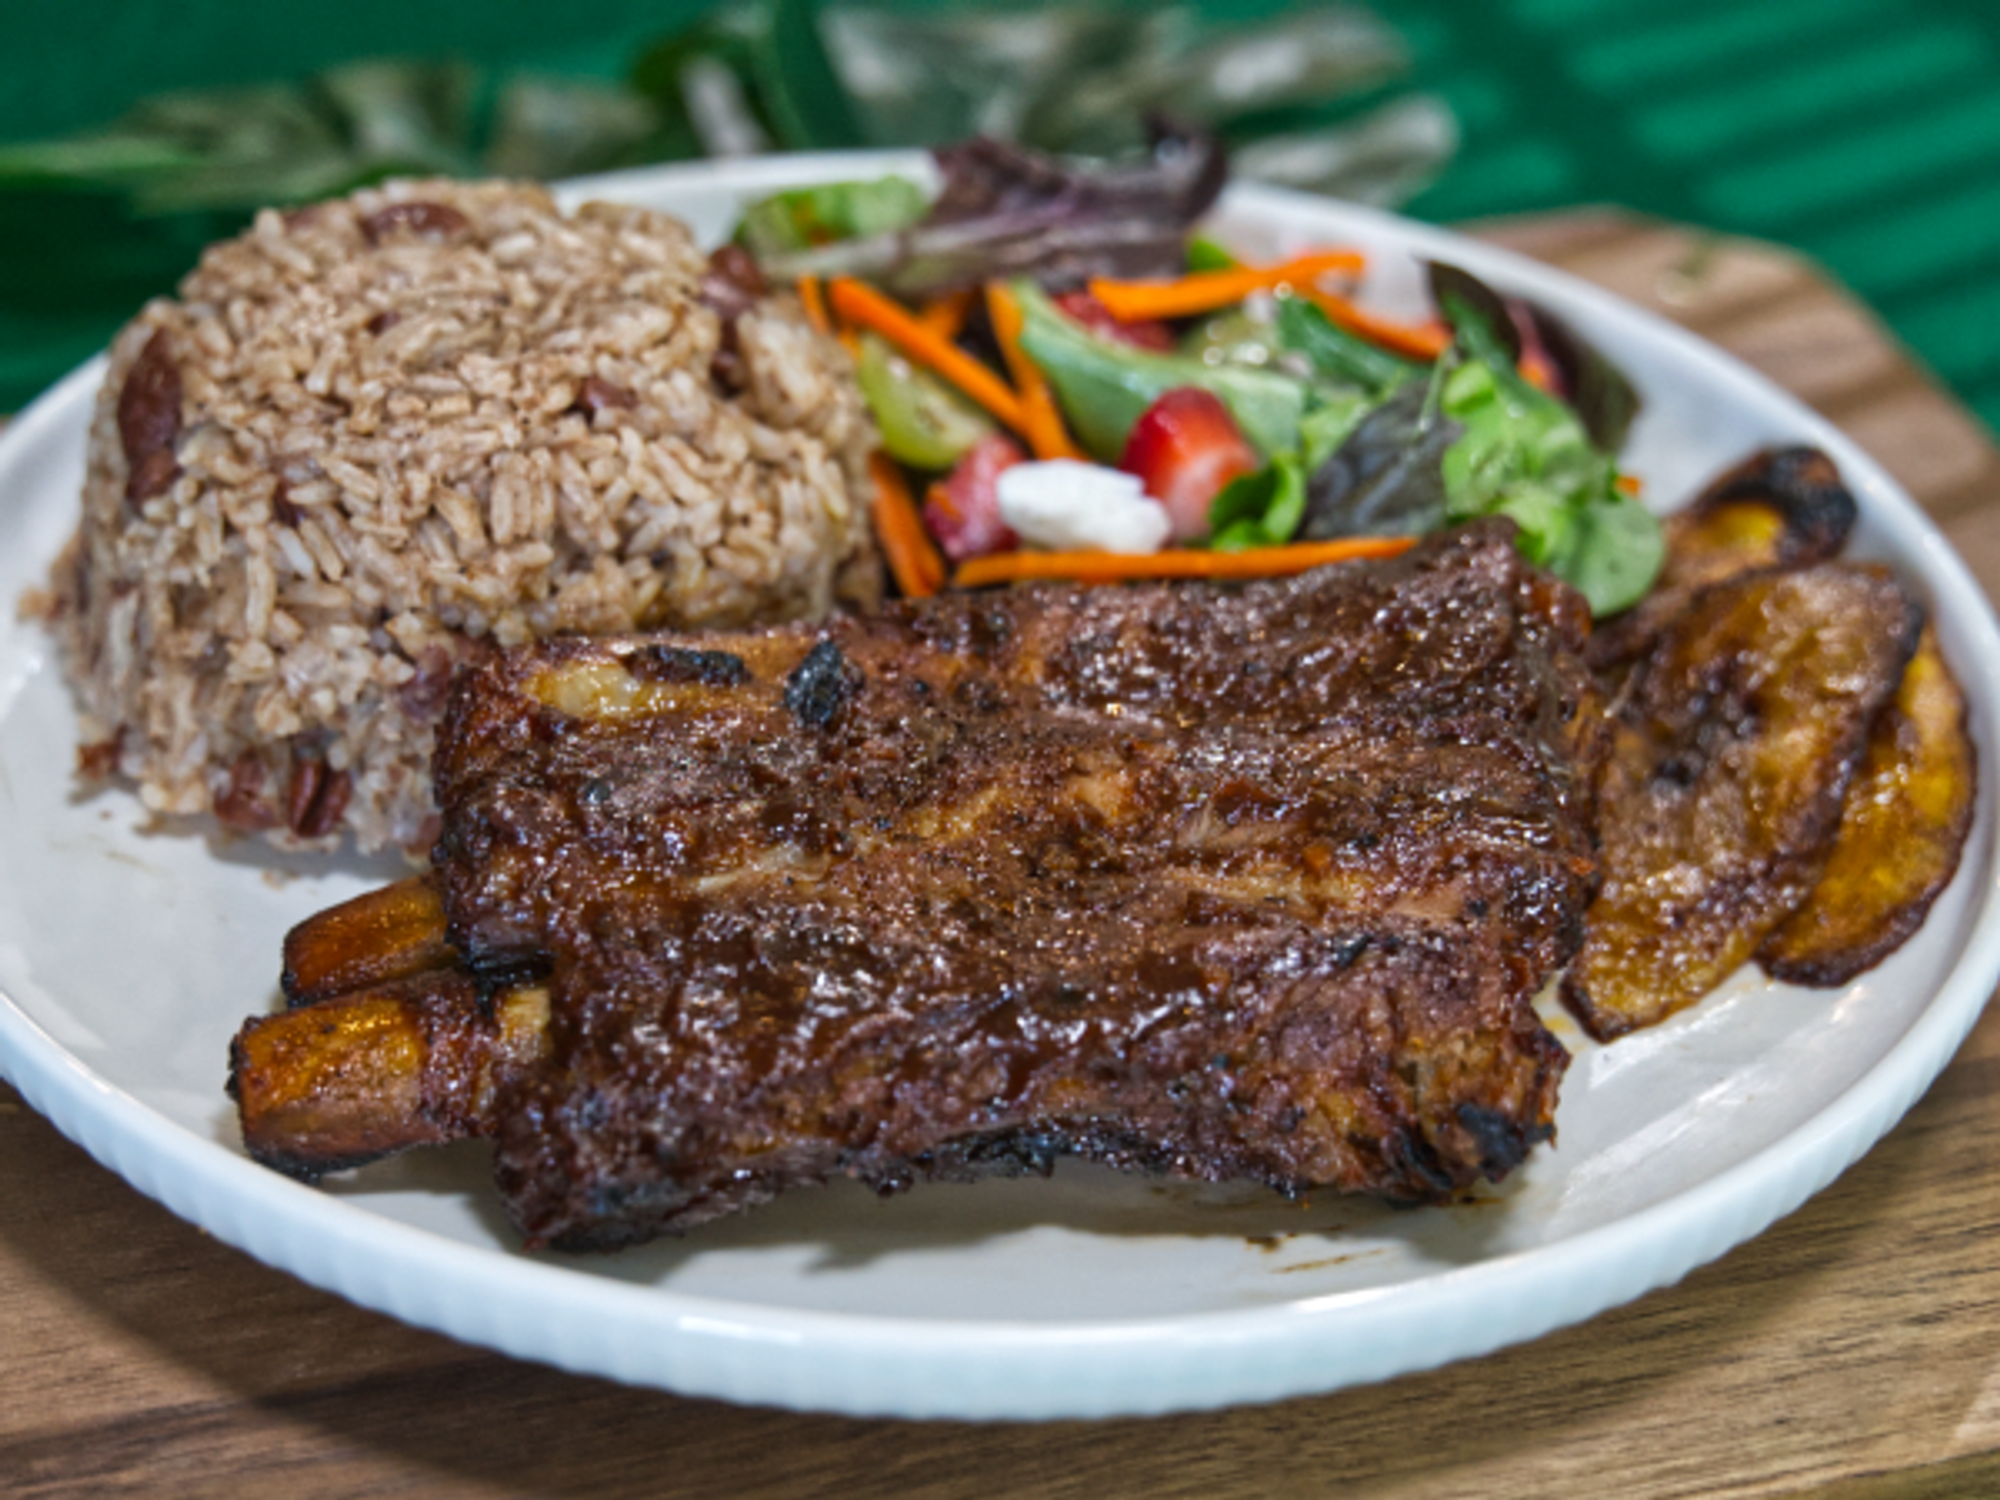
 Island Riddim's curry goat.Photo courtesy of Island Riddim Jerk & BBQ Grill